Getting Started
Let's learn How to make your story in less than 5 minutes.
Story Structure
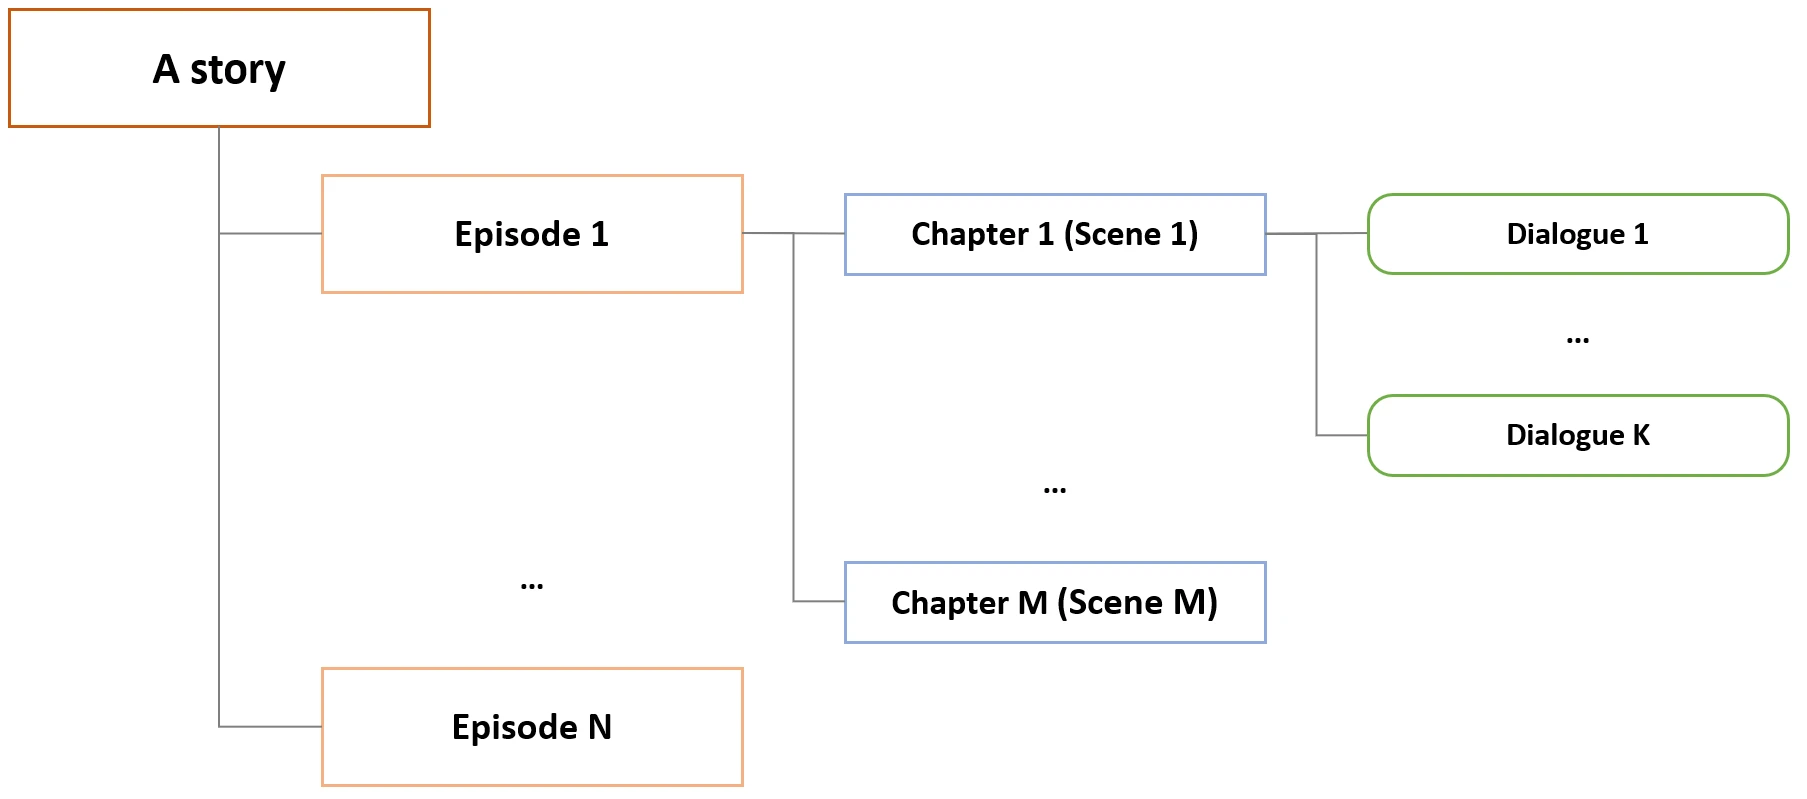
- In GPTActor, a story contains several episodes.
- Each episode includes several chapters.
- Each chapter, a story, corresponds to a scene containing background descriptions, narrations, and actor's lines.
- And each scene can have several dialogues to describe such a background, narration, and line.
1. Create a Story
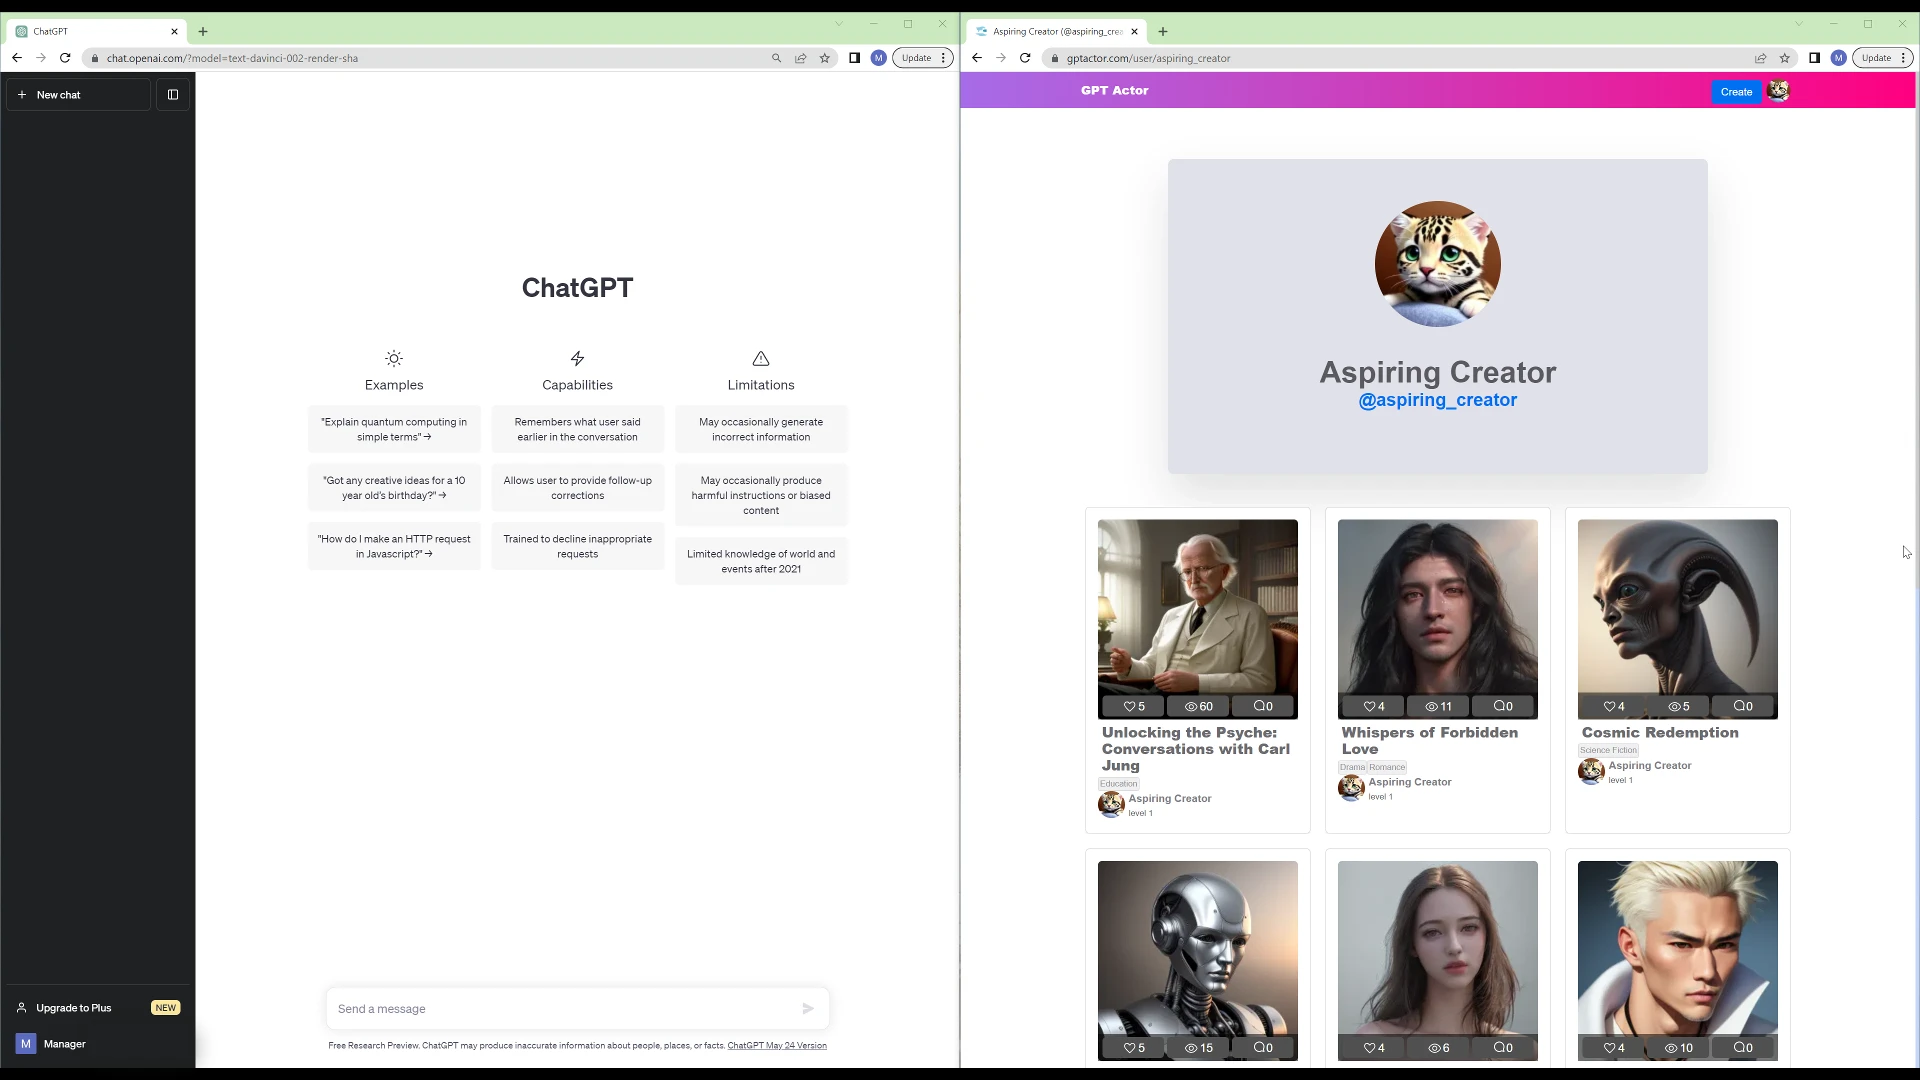
Prerequisite
It is recommended to start by placing the ChatGPT browser and the GPTActor browser side by side.
1.1 Start to create a new story
To create a story, press the "create" button.

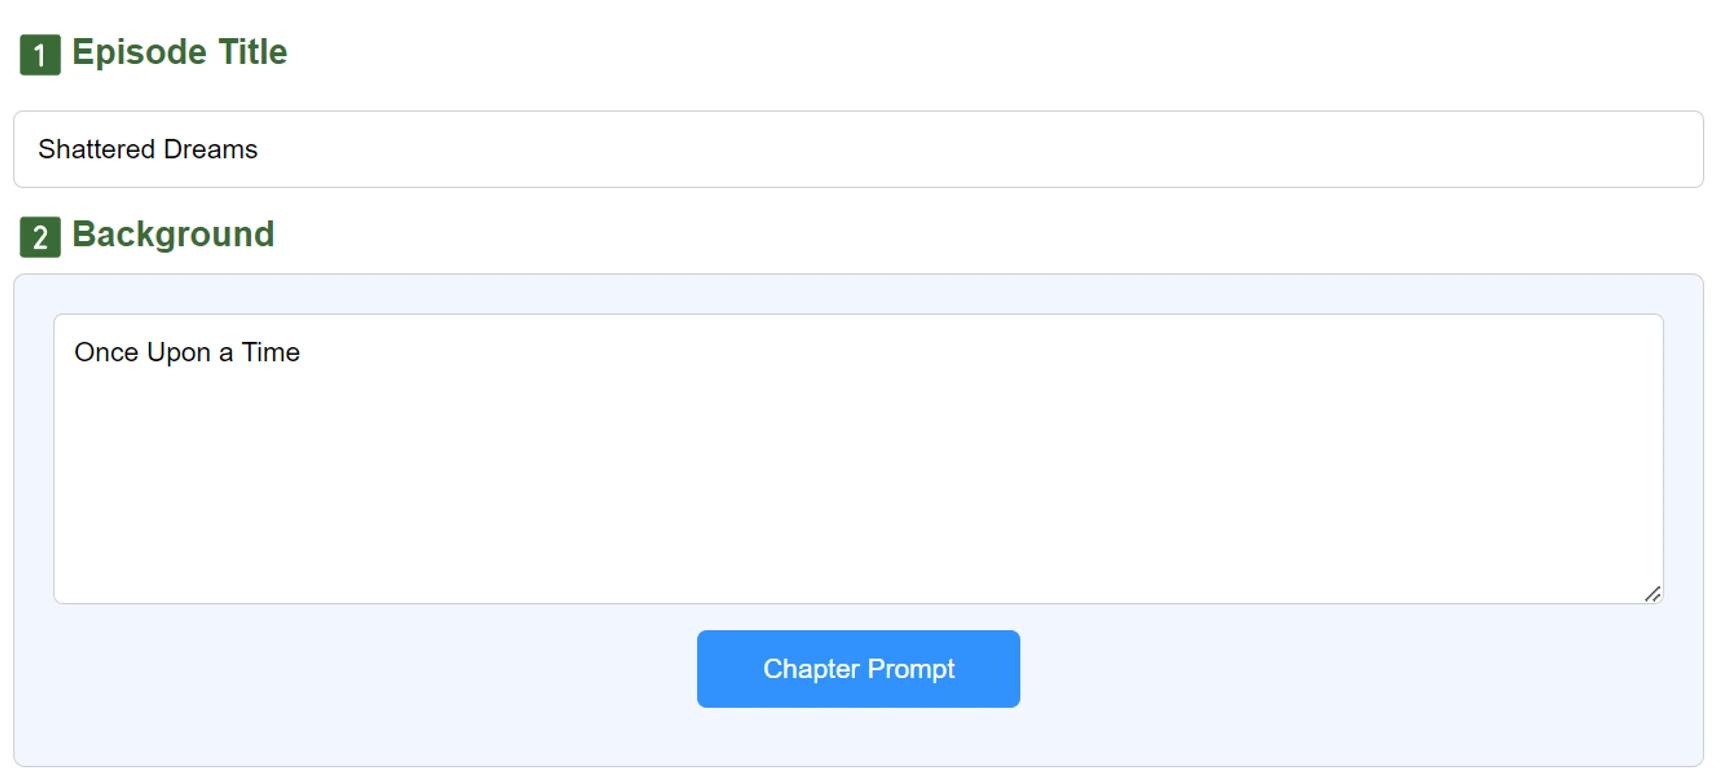
1.2 Insert a story title
Insert the title of the story you want to create.

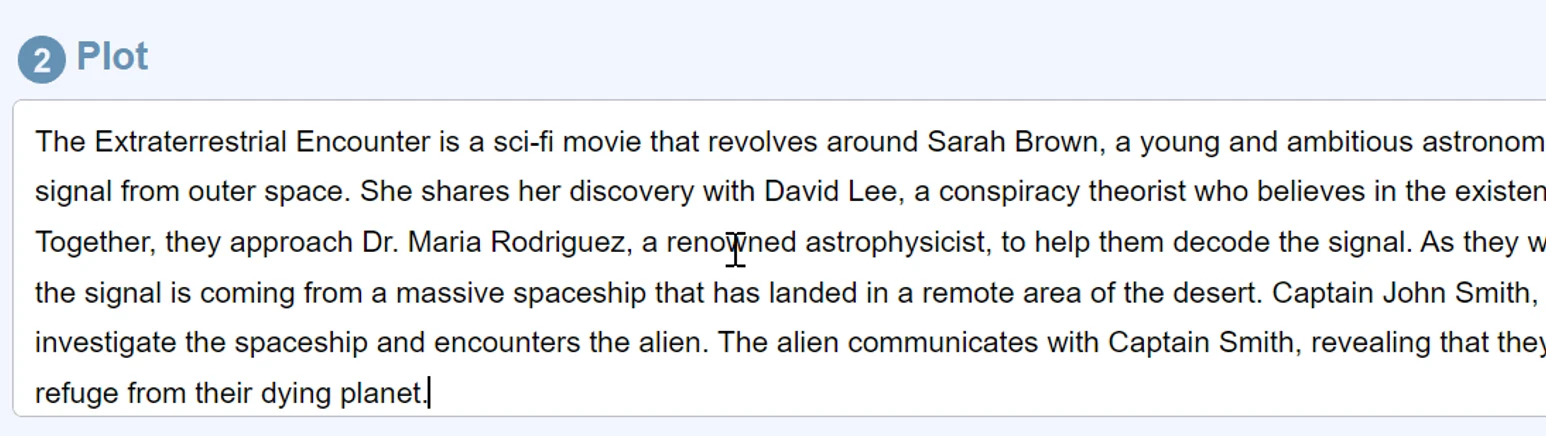
1.3 Insert an overall plot
1.4 Edit a main actor
Insert the name of the main actor and change the image.
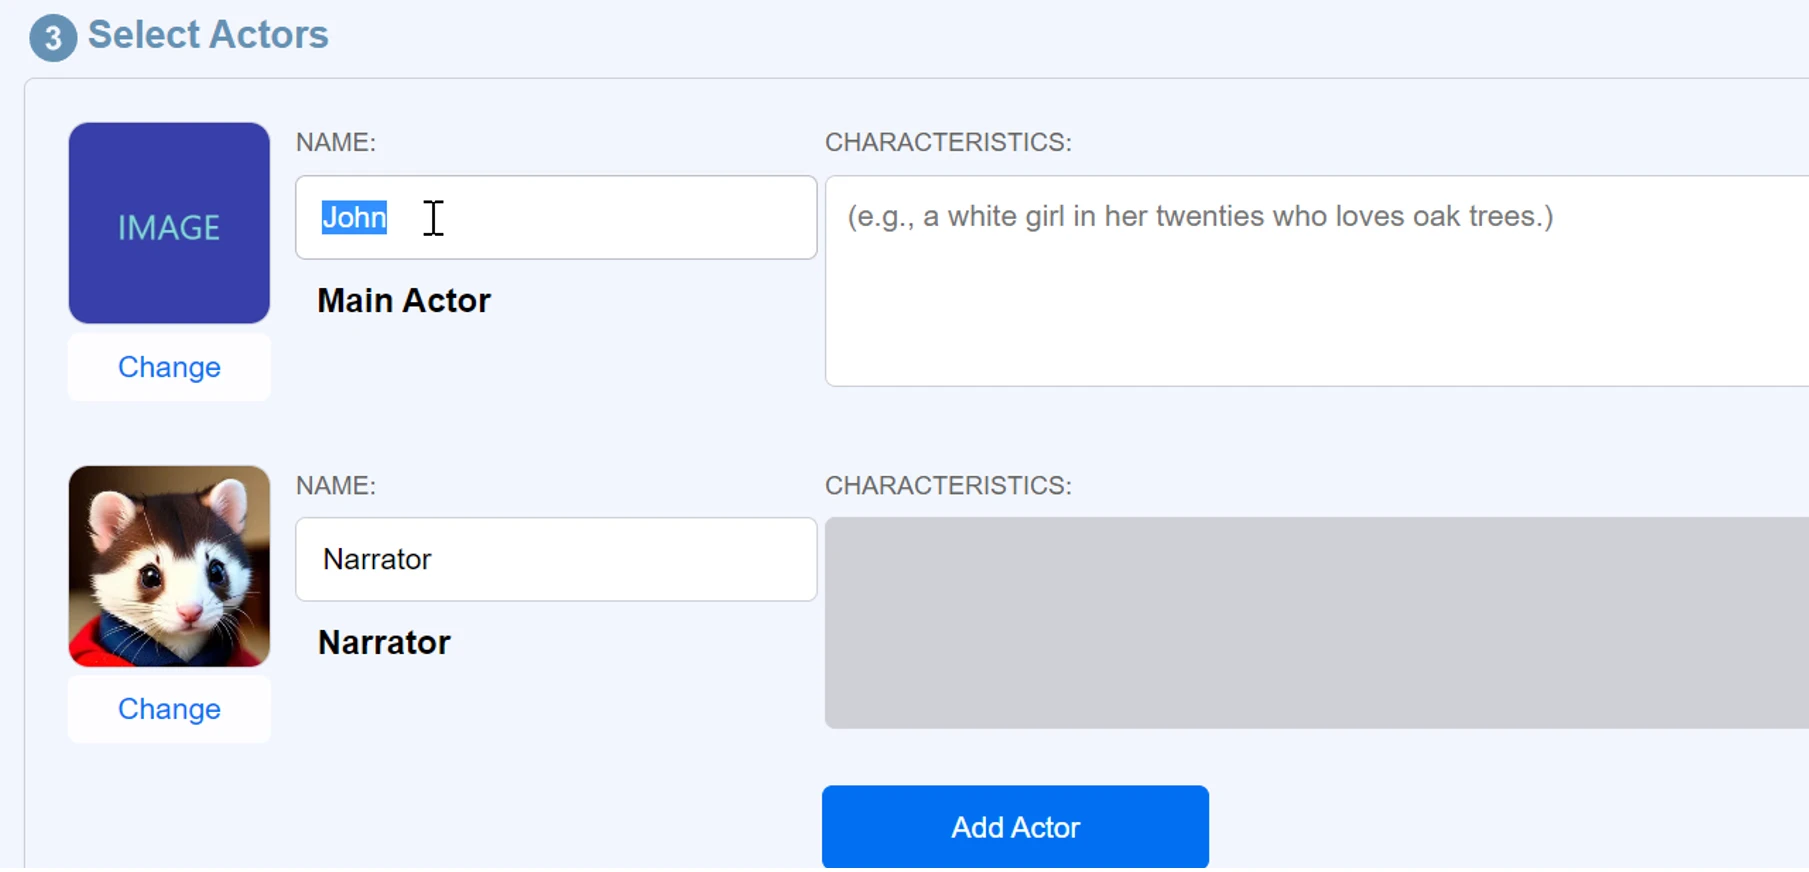
Note that there is only one main actor. But we can add many supporting actors by clicking the "Add Actor" button.
2. Create an Episode
We can create multiple episodes within a single story.
2.1 Create a new episode
To create a episode, press the "Create New Episode" button.

Each episode has its own title and background story.
Note that a random episode title is given. And you can change it properly.
2.2 Write an episode background
We write the background story for this episode.
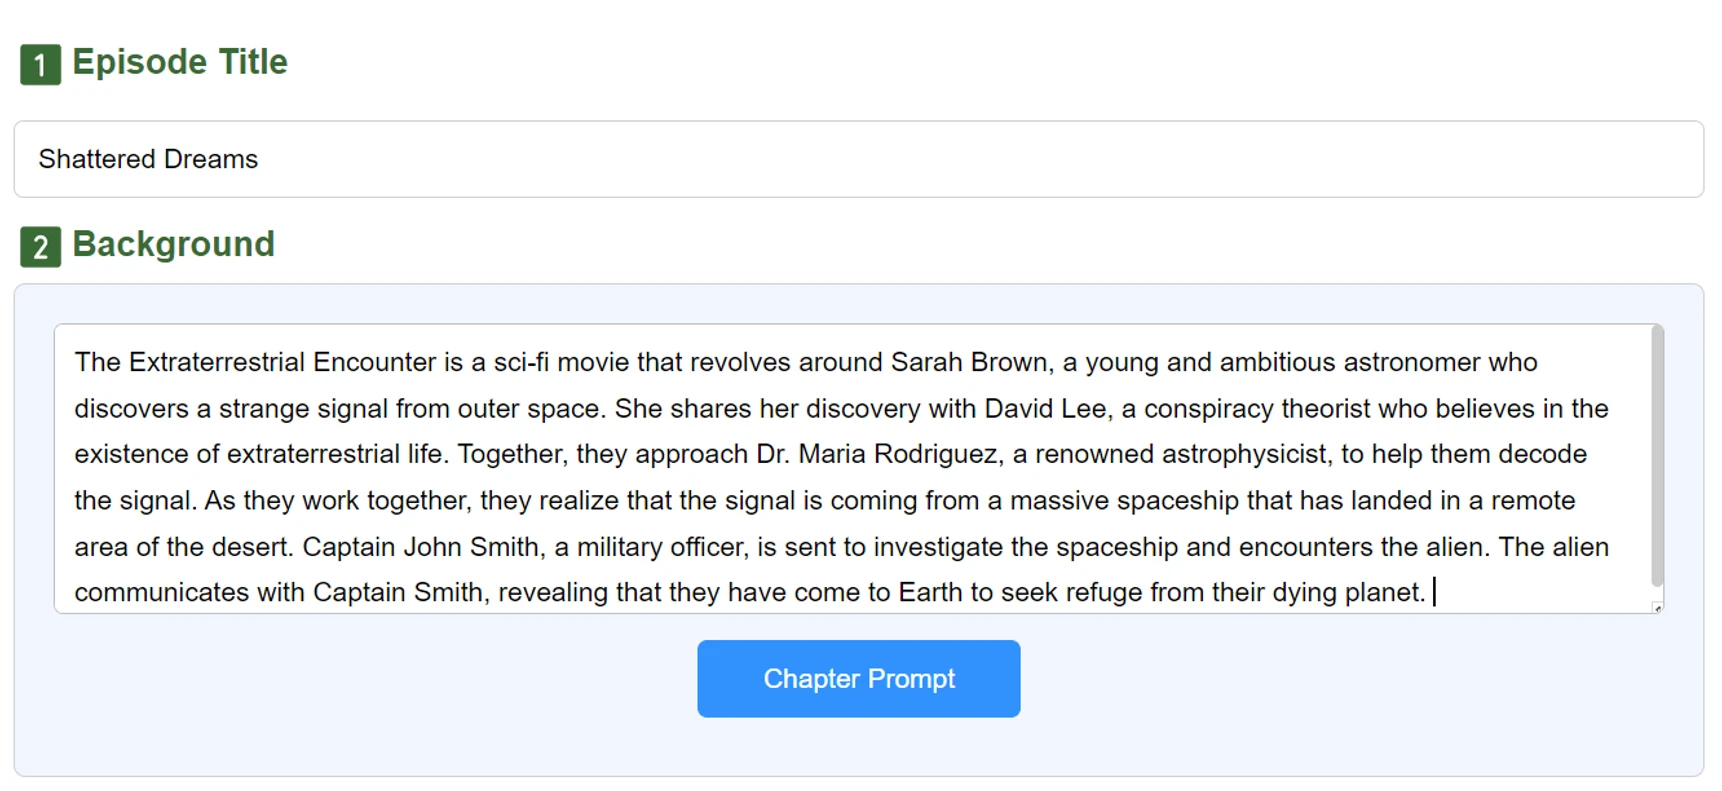
For the first episode, the plot in the main story can be reused for this episode background.
3. Create Chapters
The episode background can be divided into multiple chapters.
These chapters will be generated by ChatGPT.
3.1 Create a chapter prompt
Press the "Chapter Prompt" button.

3.2 Select the number of (sub)chapters
We can change the number of chapters.
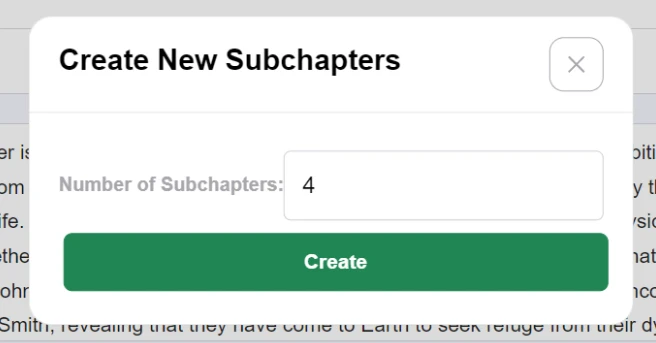
Press the "Create" button.
3.3 Automatically created chapter prompt
And then we can see an automatically created chapter prompt for ChatGPT.
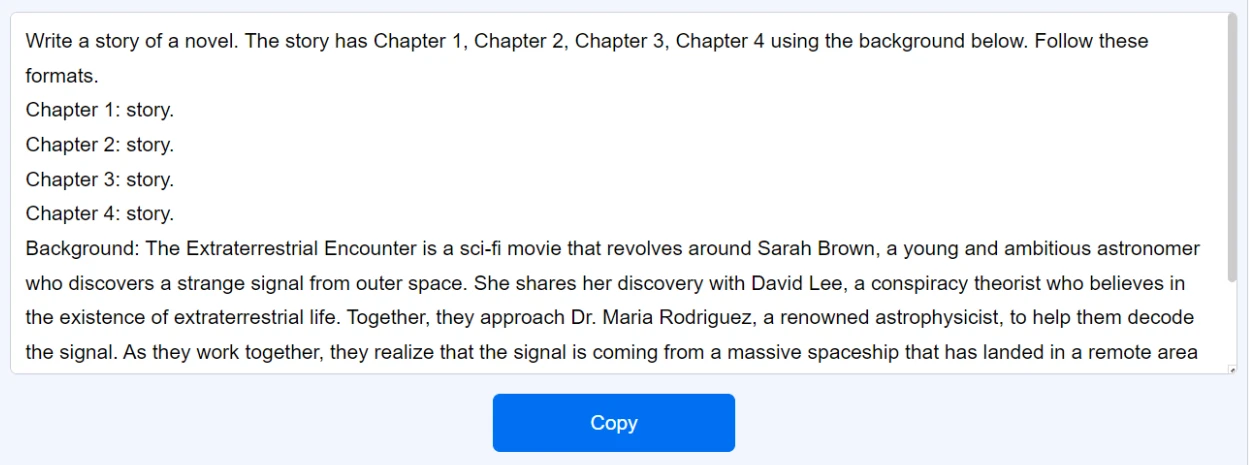
You can edit this prompt properly. For example, if you want to instruct more information to ChatGPT, edit here.
3.4 Copy the chapter prompt
Press the "Copy" button to copy the prompt, and we can then paste it on the ChatGPT browser.

3.5 Generate chapters using ChatGPT
Paste it into the prompt input field of the ChatGPT browser.
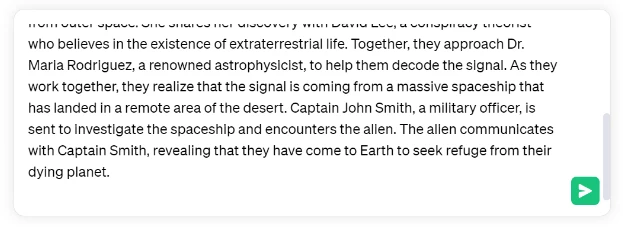
And send the prompt message.
3.6 Generated chapter stories from ChatGPT
ChatGPT generates a story for each chapter.
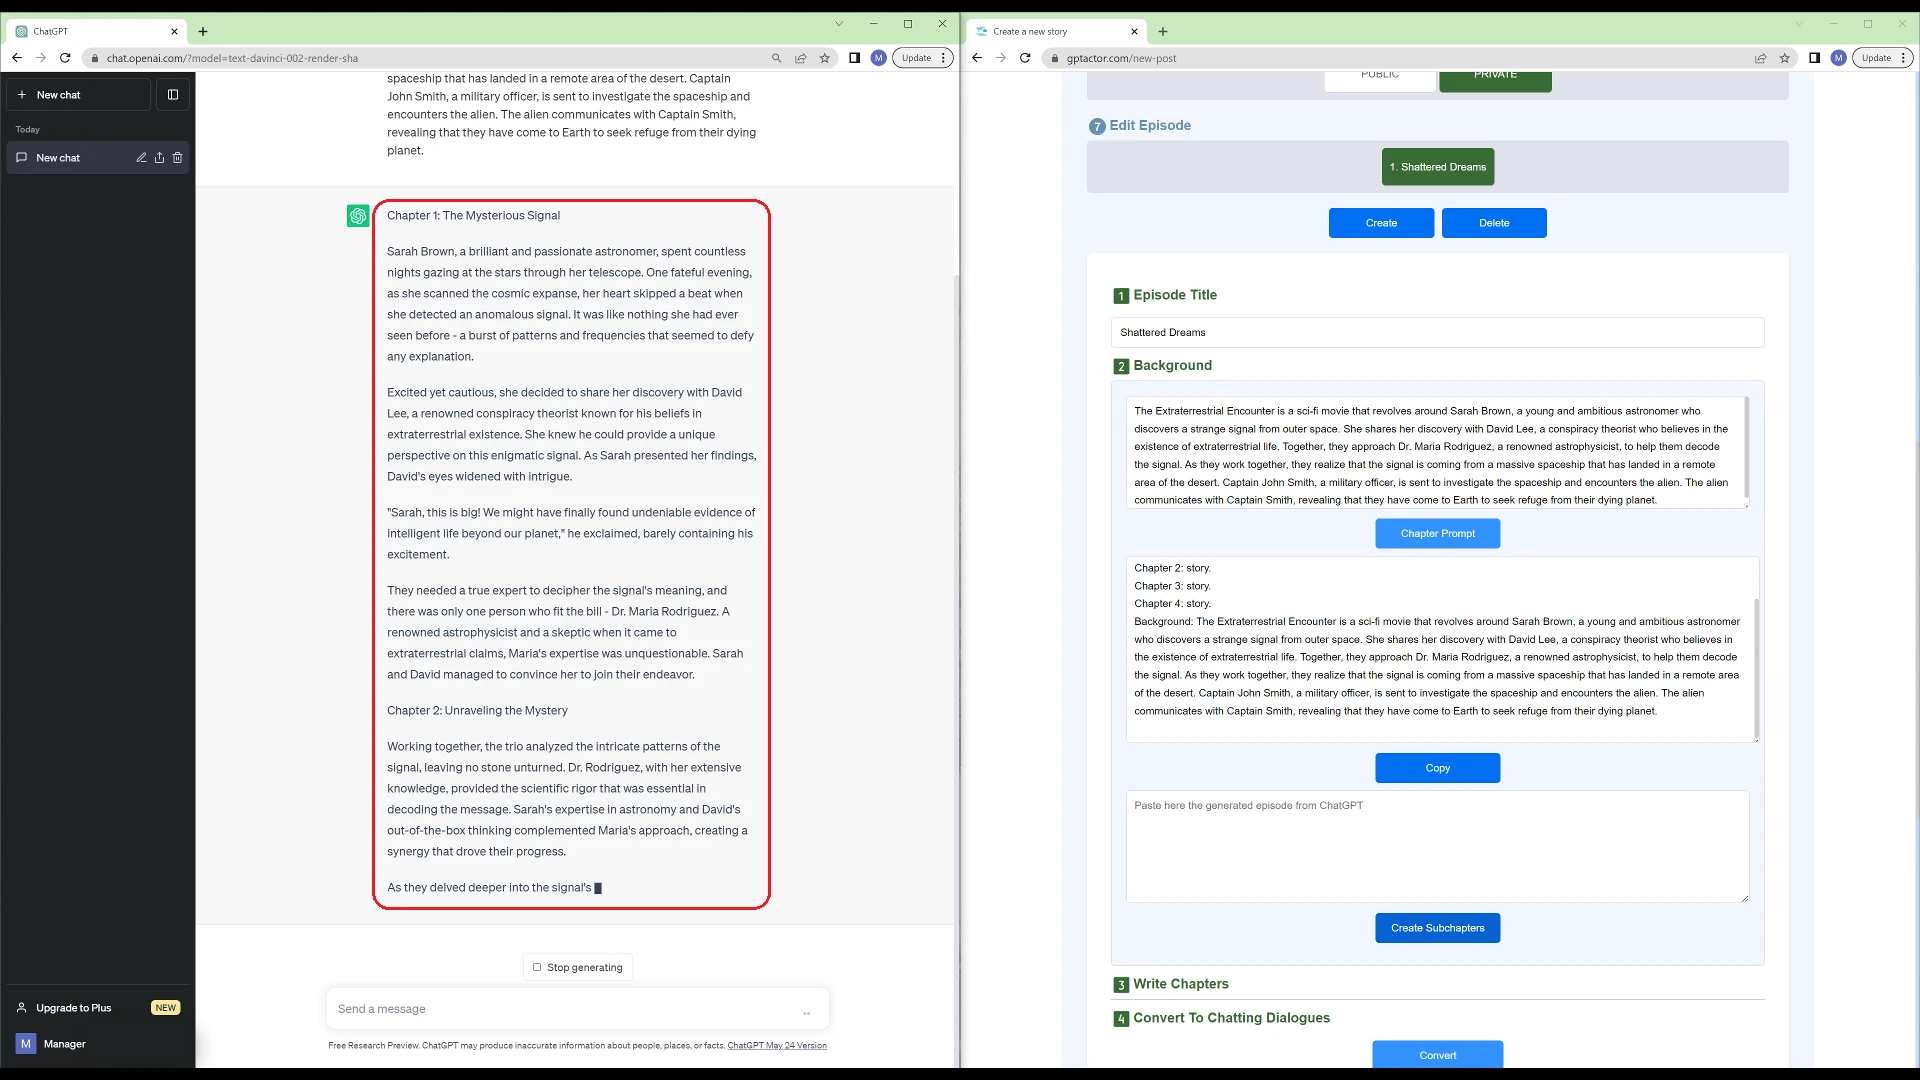
3.7 Paste the generated chapter stories to GPTActor
Copy the text generated by ChatGPT. Then, paste it into the input field below the "Copy" button of GPTActor.
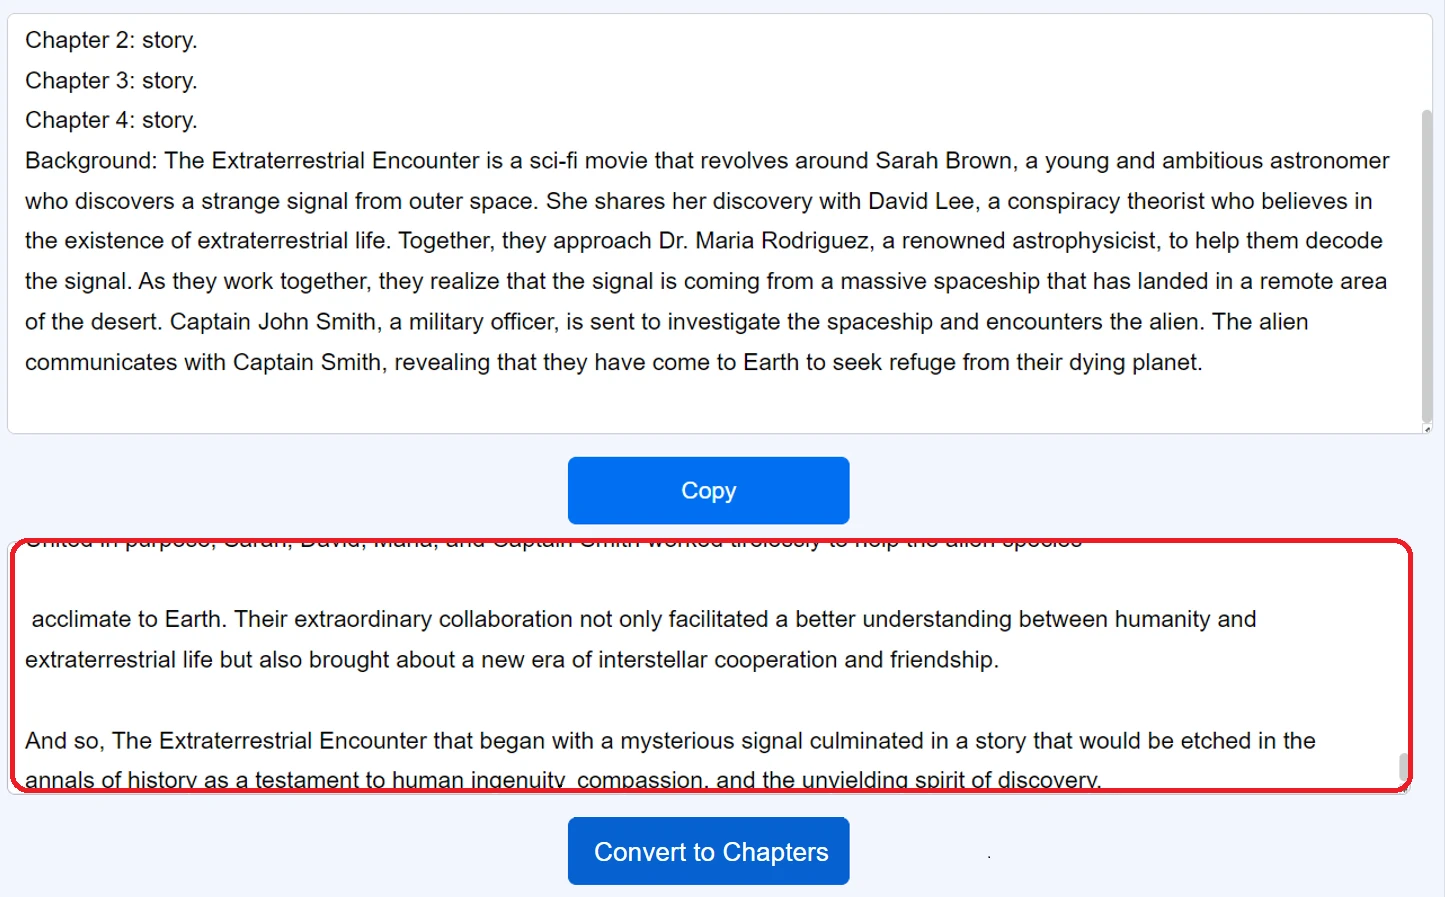
3.8 Convert to chapters of GPTActor
Now, the generated chapter stories from ChatGPT can be converted to chapters used in GPTActor.
Click the "Convert to Chapters" button.

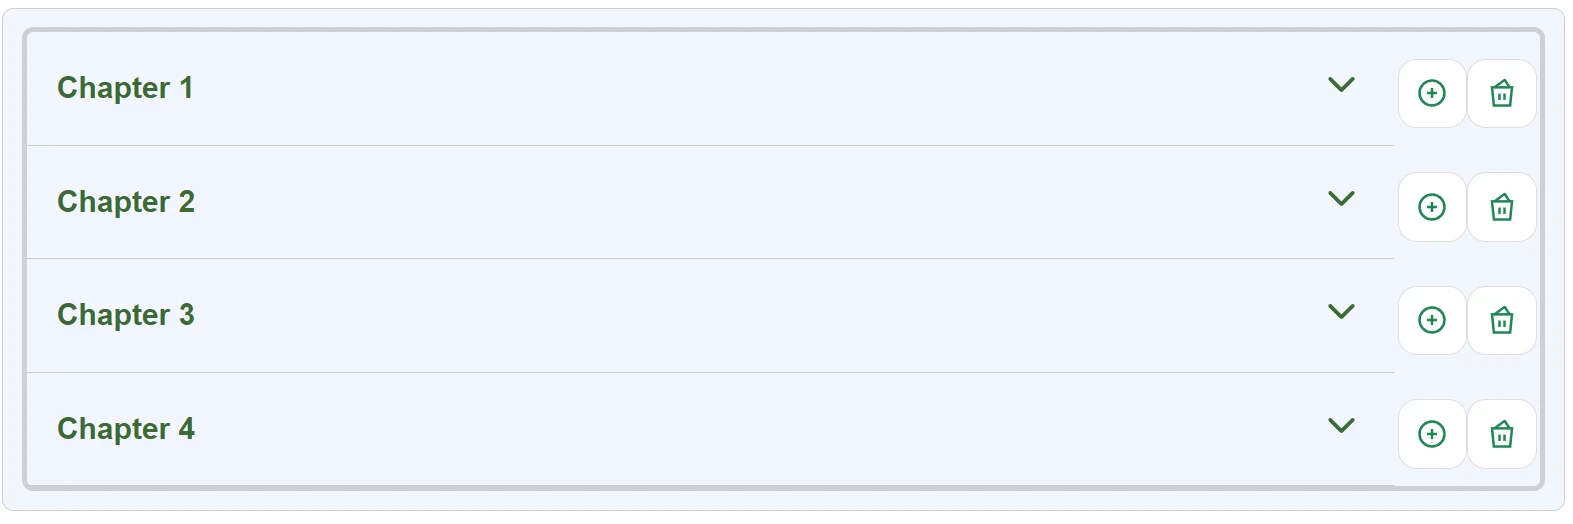
3.9 Converted chapters
We can see the converted chapters
4. Create a Scene
One chapter corresponds to one scene.
The one scene contains background descriptions, narration, and actor lines.
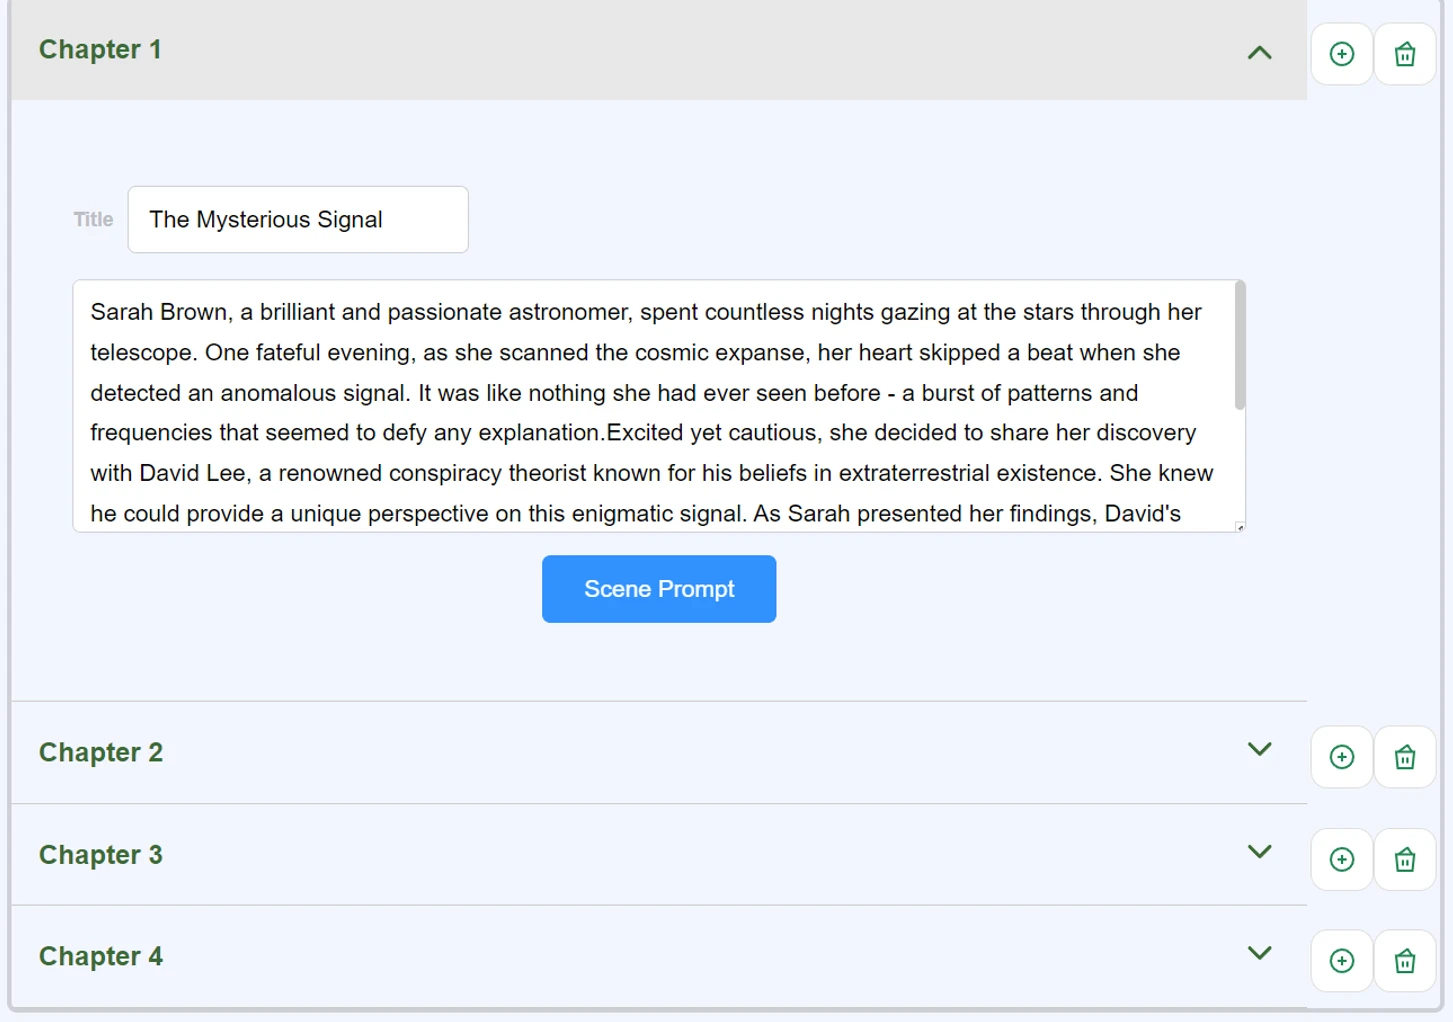
4.1 Edit a chapter story
Click on Chapter 1 in the above figure.
We can see that the title and background story of Chapter 1 have been automatically entered.
We can edit the background story properly. For example, if you want to change the story, edit here.
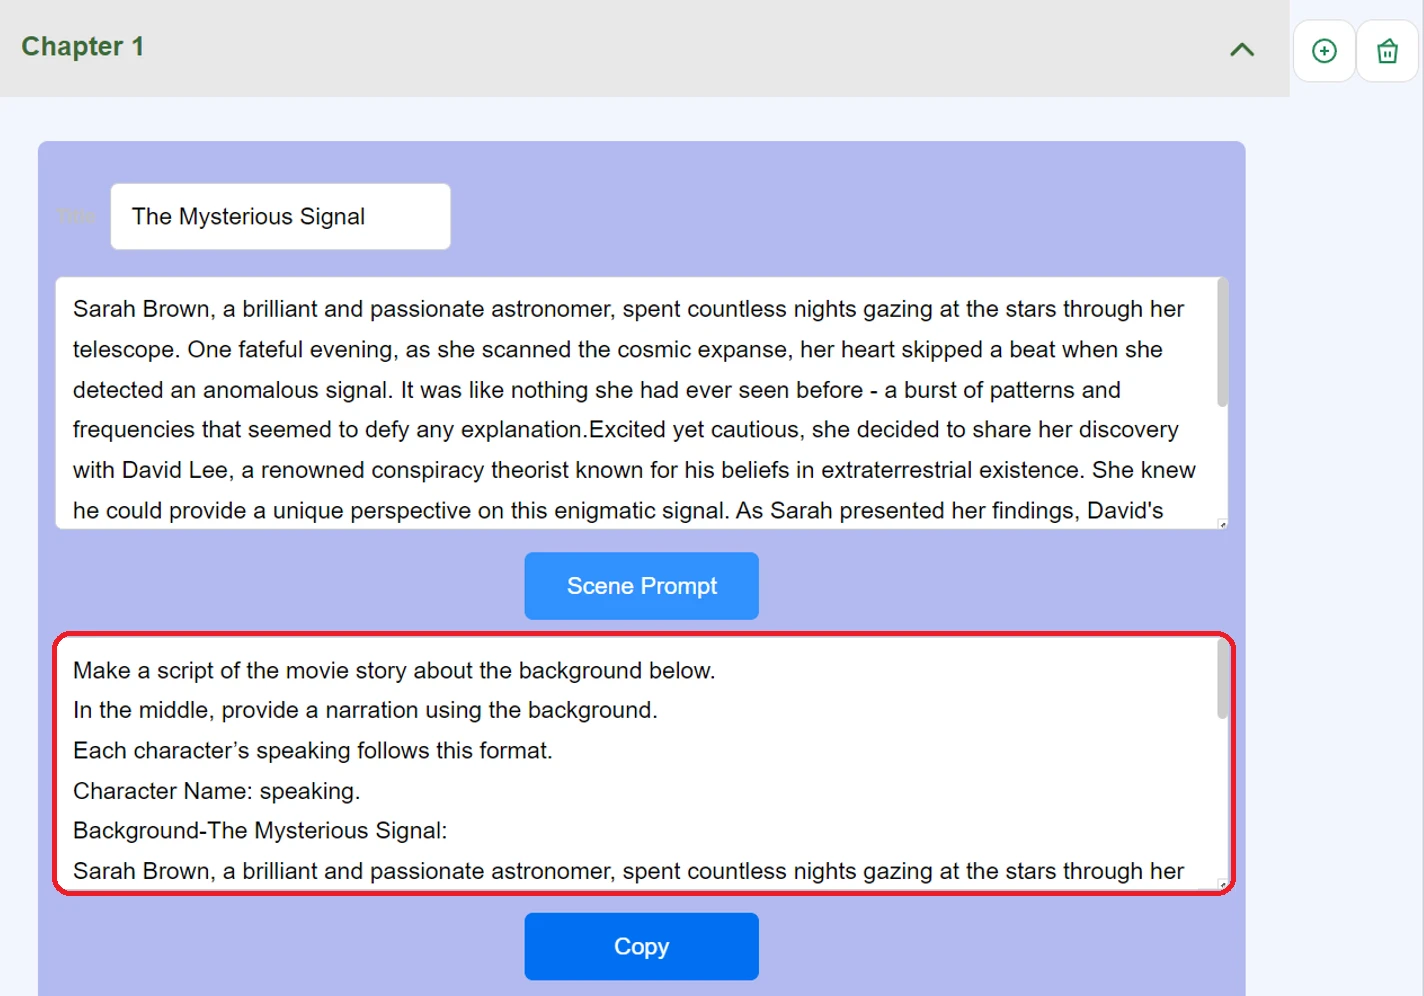
4.2 Create a scene prompt for ChatGPT
Click on the "Scene Prompt" button.

You will see that the scene prompt has been automatically generated.
4.3 Generate a scene using ChatGPT
Press the "Copy" button.

Paste it into the prompt input field of the ChatGPT browser.
Send the message.
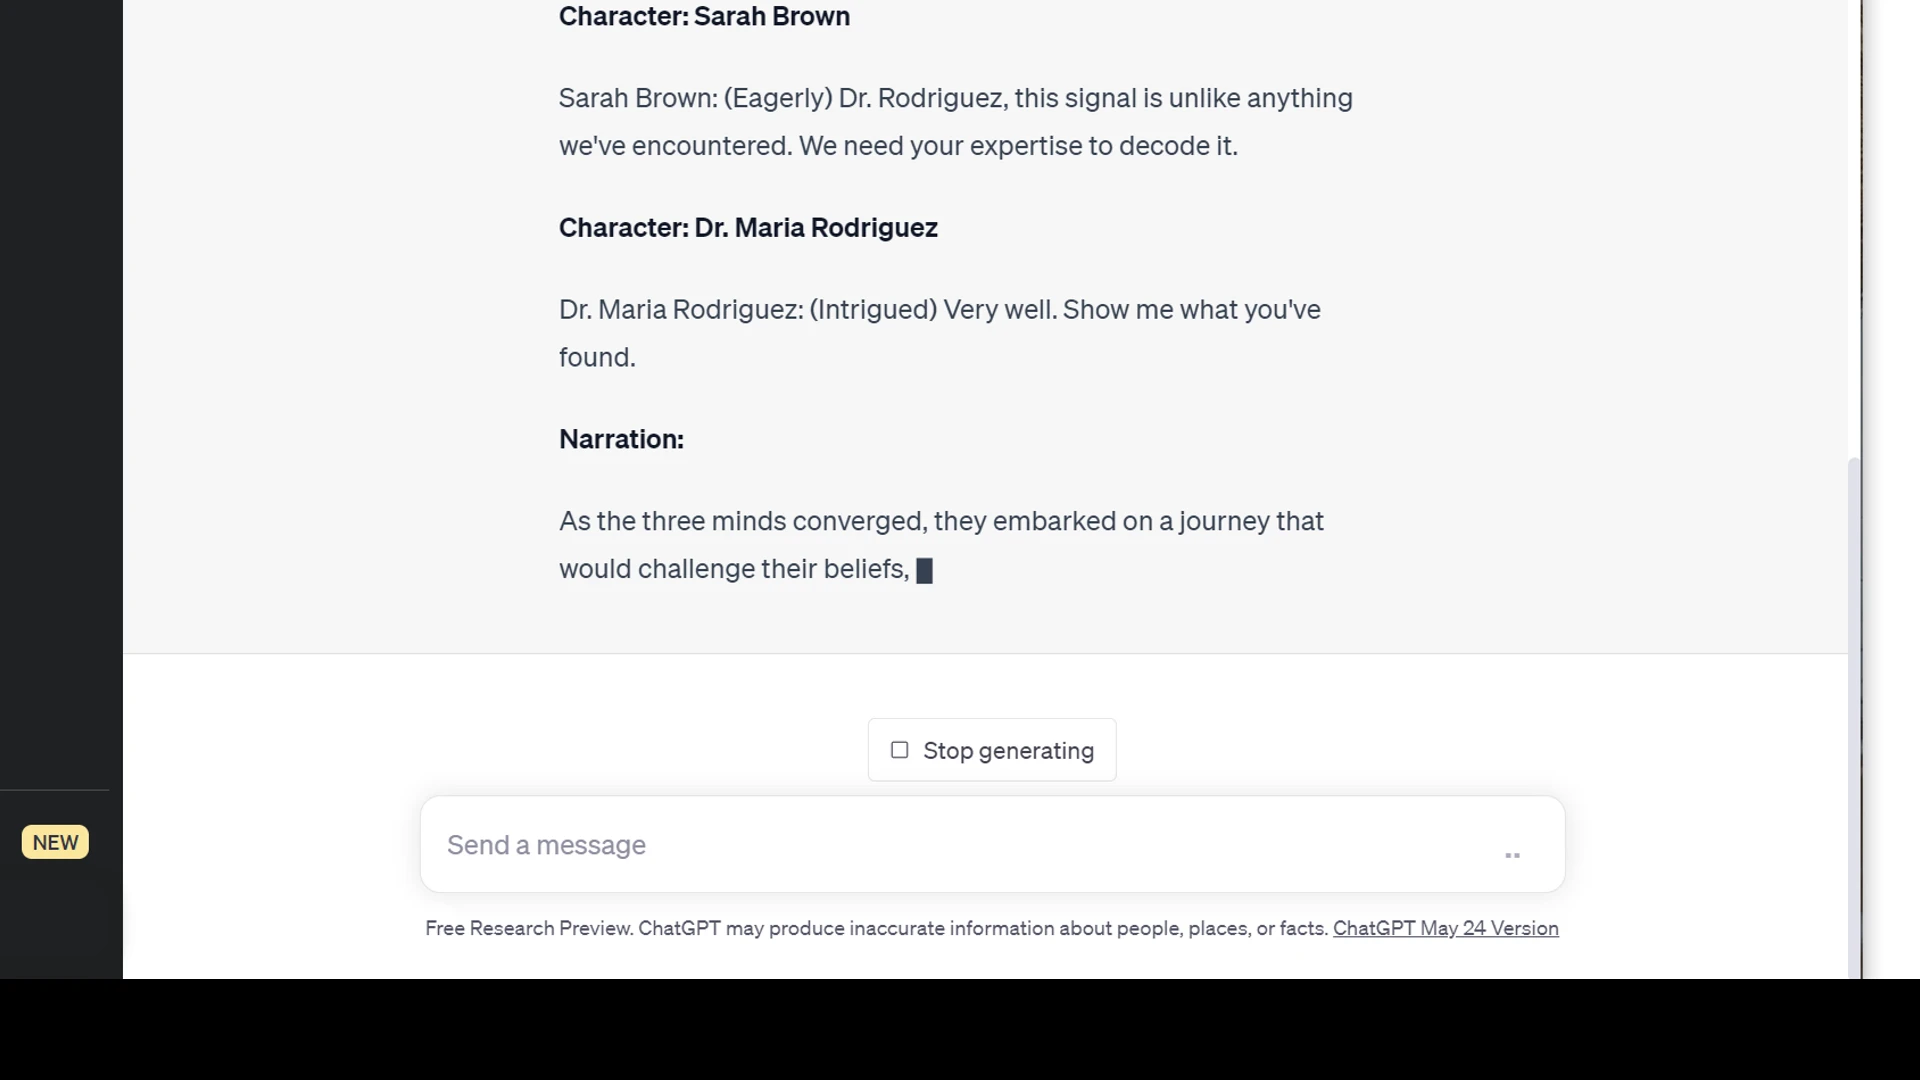
4.4 Scene generated by ChatGPT
After ChatGPT generated a scene, copy it.
4.5 Paste to GPTActor
Then, paste it into the input field below the "Copy" button in GPTActor.

4.6 Repeat this task for all chapters
In the same way, generate scenes for Chapter 2, 3, and 4 as well.
4.7 Convert to dialogues
After generating all scenes, we convert them into dialogues.

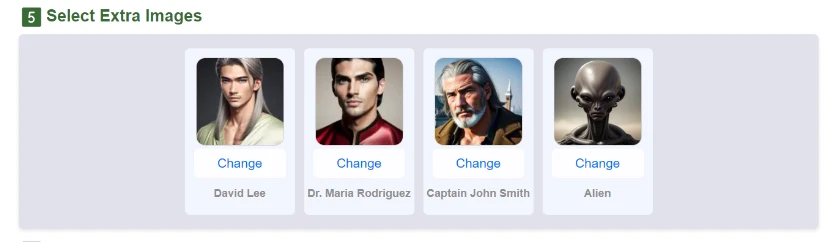
5. Edit Extra Images
After the conversion, we can see the extras generated by ChatGPT.
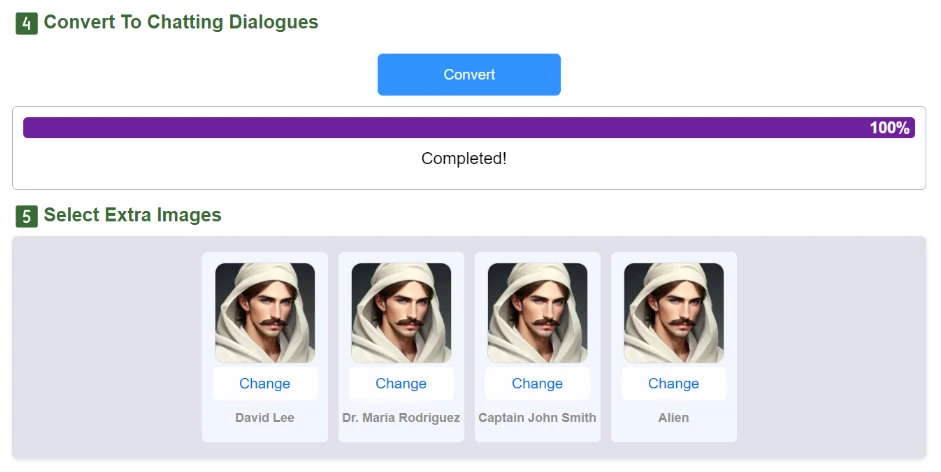
5.1 Select an extra image
We can change the images of the extras.
To change the image, click the "Change" button on each extra.
6. Edit Dialogues (optional)
6.1 Review and edit generated dialogues
Review and make changes to the dialogues of each chapter.

- Any dialogues can be deleted.
- Also, new dialogues can be added.
- Click the image in the dialogue where you want to change the actor.
7. Publishing Date Selection (optional)
Each episode can be published on a specific date.
7.1 Select publishing date
Choose a date to publish this episode.
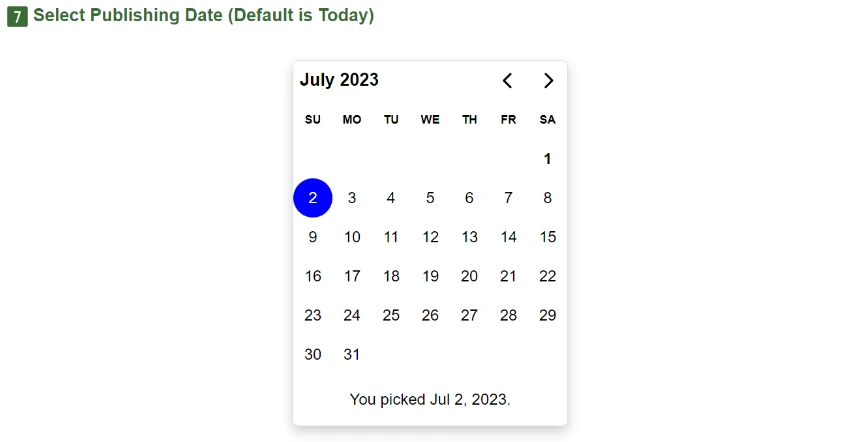
If a date is not selected, the episode will be published today.
8. Save
The story and episode you are editing are saved on the GPTActor server by pressing the "Save" button.

There is no auto-save feature in the current version, so manually saving is important to avoid losing your precious stories.